If your AC stopped cooling and a technician told you “the compressor is gone,” you’re probably staring at a repair bill that made your stomach drop. Compressor replacement is one of the most expensive repairs in the HVAC world — and it’s also one of the most misunderstood. This post will help you understand what the compressor actually does, how technicians figure out it’s failed, and most importantly — when replacing it makes financial sense and when it doesn’t.
What Does the Compressor Actually Do?
Think of the compressor as the heart of your AC system. Its job is to pressurize the refrigerant — the fluid that carries heat out of your home. Without a working compressor, refrigerant just sits there doing nothing, and your house stays hot.
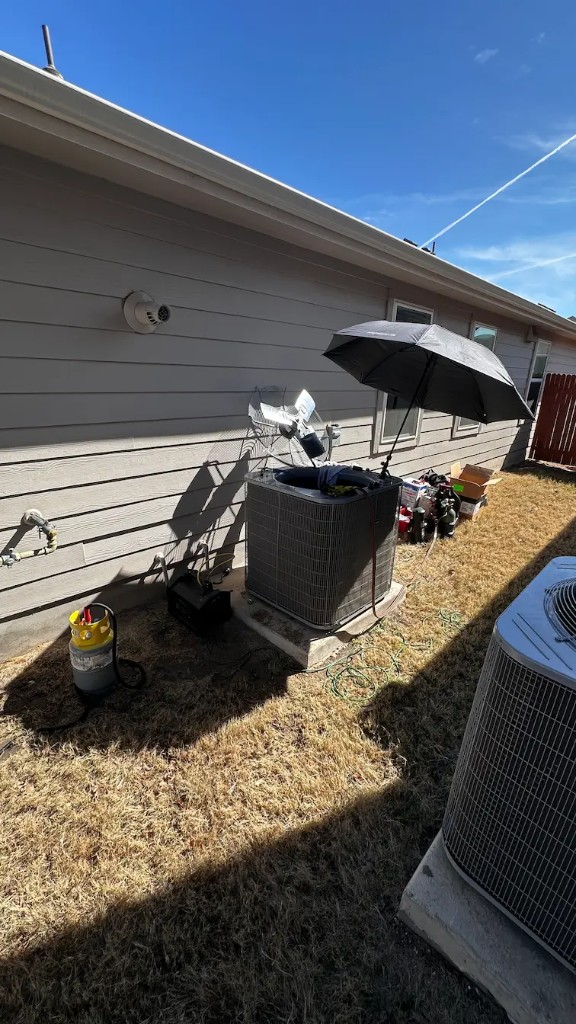
The compressor lives in the outdoor unit (the big metal box outside your home). It runs every time your AC is in a cooling cycle, which in a Texas summer means it’s working hard for hours every day. That’s a lot of stress on a single component — and it’s exactly why compressors eventually wear out.
How Do Technicians Know the Compressor Has Failed?
This is where things get technical — but stick with us, because understanding this will help you ask better questions and avoid being misled.
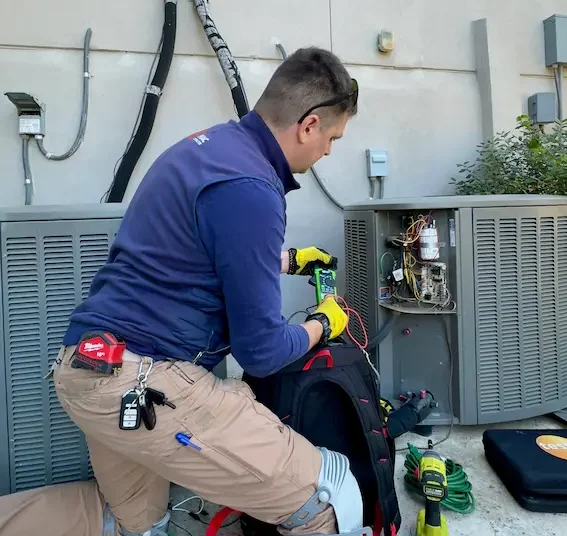
A good technician doesn’t just guess. Before declaring a compressor dead, they run a series of checks:
Electrical tests
The compressor has internal windings (like a motor). A technician uses a multimeter to check for shorts or open circuits in those windings. If the readings are off, that’s a strong sign of internal failure.
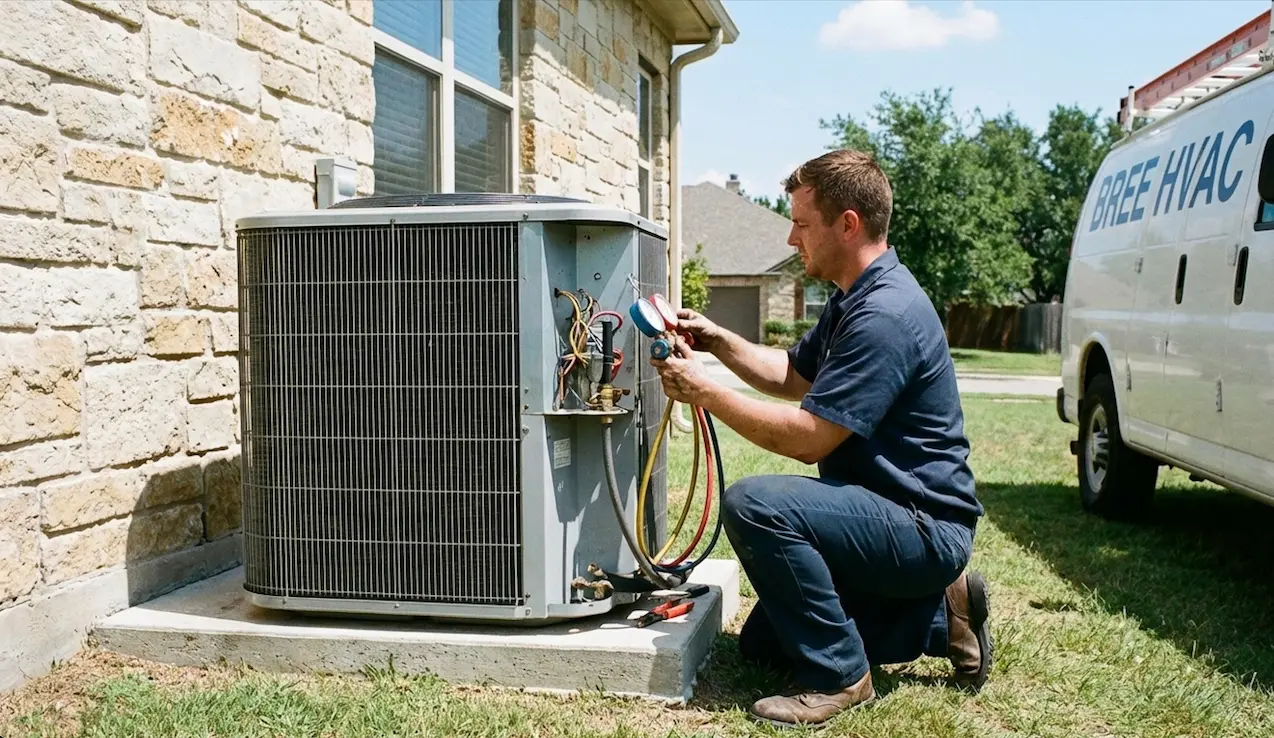
Refrigerant pressure checks
Your system has two sides — a high-pressure side and a low-pressure side. When the compressor is running, there should be a clear difference in pressure between them. If the pressures are equal or wrong, it means the compressor isn’t doing its job of moving refrigerant.
Superheat and subcooling measurements
These are two terms you’ll hear from any serious HVAC technician, and they’re worth knowing.
- Superheat is how much warmer the refrigerant vapor is above its boiling point at a given pressure. Measured at the suction line (the larger, insulated copper pipe going into the outdoor unit). Proper superheat means refrigerant is fully evaporated before reaching the compressor — which is critical, because liquid refrigerant entering a compressor destroys it.
- Subcooling is how much cooler the liquid refrigerant is below its condensing point. Measured at the liquid line (the smaller copper pipe). Proper subcooling means the refrigerant is fully condensed and ready to do its job in the indoor coil.
If superheat and subcooling are both way off and pressures are wrong, the system isn’t functioning at all — and the compressor is usually the culprit.
Amperage draw
A healthy compressor draws a predictable amount of electrical current. If it’s drawing way too much (or nothing at all), that tells the technician a lot about its condition.
A professional diagnosis takes all of these data points together — not just one reading in isolation. If someone quotes you a compressor replacement after a 10-minute visit without pulling out gauges and a multimeter, that’s a red flag.
Why Compressors Fail
Compressors don’t usually just “die” out of nowhere. Most failures have a root cause:
- Low refrigerant. Probably the most common cause. When refrigerant leaks out, the compressor has to work harder to move less refrigerant. It overheats. A compressor replacement without finding and fixing the leak first is money thrown away — it’ll fail again.
- Dirty coils. When the outdoor coil is clogged with dirt, grass, or debris, heat can’t escape. Pressure builds up, the compressor strains, temperatures spike, and failure follows.
- Electrical problems. Power surges, bad capacitors, or wiring issues can damage the compressor motor windings. This is why capacitors are checked during proper maintenance.
- Lack of lubrication. Compressors rely on oil circulation with refrigerant. Low refrigerant or contamination can reduce lubrication and accelerate wear.
- Age and wear. After 12–15 Texas summers, many compressors are simply near end-of-life.
One Thing Most Homeowners Don’t Know: The System Has to Be Clean
When a compressor fails — especially if it burns out internally — it doesn’t just stop. It can release contaminants into the refrigerant lines (burned oil, metal particles, and acidic byproducts) that spread through the system.
This is called an acid burnout. If you install a new compressor without cleaning the system, those contaminants can destroy the new compressor too — sometimes within months.
Technicians can check for this using an acid test kit. If the system tests positive, the line set and components may need to be flushed, and a fresh filter drier should be installed.
A filter drier captures moisture, debris, and acid from the refrigerant. After a major repair like compressor replacement, installing a new filter drier is non‑negotiable.
Why a Deep Vacuum Matters Before Adding Refrigerant
Once the repair is done, the system can’t just be charged with refrigerant immediately. First, a technician must pull a deep vacuum — using a vacuum pump to remove air and moisture from the refrigerant lines.
Moisture can react with refrigerant and oil to form acids. Air creates non‑condensable gases that raise system pressure and make the compressor work harder. A proper vacuum is verified with an electronic micron gauge, and should be held long enough to confirm the system is clean and sealed.
Skipping or rushing this step is one of the most common shortcuts — and one of the most damaging.
When Compressor Replacement Makes Sense
Now for the big question — should you replace the compressor or the whole system?
Replacement makes sense when:
- The system is less than 8–10 years old
- The rest of the system (coil, air handler, line set) is in good condition
- The compressor is still under manufacturer warranty
- The root cause of failure has been identified and fixed
Think twice — or replace the whole system — when:
- The system is 12+ years old
- R-22 refrigerant is involved (no longer manufactured and expensive)
- Other major components are also worn or failing
- The total repair cost approaches ~50% of a new system’s cost
Rule of thumb: multiply the system’s age by the repair cost. If that number exceeds the cost of a new system, replacement often wins. Example: a 12‑year‑old system with a $1,800 compressor repair → 12 × $1,800 = $21,600. A new system might cost $10,500+ installed.
Ready to get a clear answer on your system?
We serve Cedar Park, TX and nearby areas (Austin, Round Rock, Pflugerville, Leander, Georgetown).
- Checking the price of a brand-new system? Use our online tool to compare full equipment replacement options. Get an Online Quote
- Need compressor replacement specifically? Book a diagnostic appointment so we can confirm the failure, identify the root cause (leak/contamination/electrical), and quote the correct repair. Schedule an Appointment or call (512) 638-4713.
Real install video
Short clip from a real compressor/service job.
What You Should Expect from a Proper Compressor Replacement
If you do move forward with compressor replacement, here’s what a quality job includes:
Time expectation: A proper compressor replacement typically takes 4–6 hours when done correctly (diagnostics, recovery, brazing, vacuum, recharge, and verification). If someone says they can do it in ~2 hours, that’s a red flag — it often means steps like deep vacuum verification, contamination protection, or proper charge validation were rushed or skipped.
- Full electrical and refrigerant diagnostics before and after
- Acid test on the existing refrigerant
- New filter drier installed in the liquid line
- Deep vacuum pulled and held (verified with a micron gauge)
- Correct refrigerant charge verified using superheat and subcooling
- System run-tested with a temperature differential check across the coil
If a technician can’t explain these steps or skips any of them, that’s a problem.
Bottom Line
Compressor replacement is a major investment — and it’s important to understand what you’re paying for. In many cases, the $1,200–$2,500+ range is primarily labor (diagnostics, recovery, installation, vacuum, and proper commissioning). On top of labor, you may also pay for refrigerant (especially if the system uses a larger charge or has significant loss) and the compressor itself if it’s not covered under warranty. Done right, on the right system, it can buy you many more years of reliable cooling. Done wrong — or on the wrong system — it’s money wasted.
The best thing you can do as a homeowner is ask questions: what tests were run, whether the system was checked for acid, and how the vacuum was pulled and measured. A technician who knows their craft will welcome those questions.
At Bree HVAC, we run full diagnostics before recommending any major repair. If compressor replacement is the right call, we’ll explain why and do the job correctly. If a new system makes more sense, we’ll tell you that too.
FAQ
How much does AC compressor replacement cost?
Labor is often in the $1,200–$2,500+ range depending on unit size and complexity. Refrigerant and the compressor itself (if not under warranty) can add additional cost.
Should I replace the compressor or the whole AC system?
If the system is 12+ years old or uses R-22 refrigerant, full replacement usually makes more financial sense.
How long does compressor replacement take?
A proper job typically takes 4–6 hours including diagnostics, recovery, installation, deep vacuum verification with a micron gauge, and recharge/commissioning.
Ready to get a clear answer on your system?
We serve Cedar Park, TX and nearby areas (Austin, Round Rock, Pflugerville, Leander, Georgetown).
- Checking the price of a brand-new system? Use our online tool to compare full equipment replacement options. Get an Online Quote
- Need compressor replacement specifically? Book a diagnostic appointment so we can confirm the failure, identify the root cause (leak/contamination/electrical), and quote the correct repair. Schedule an Appointment or call (512) 638-4713.
